
Managing Connections
You can add a new connection, share a connection to allow other users to upload data from that location or publish data to that location, edit connection settings, and delete connections.
Required Information for Connection Types
When adding a connection, you are prompted for specific information for the connection type. Based on your connection type, gather the following information before adding the connection:
- Requirements for S3
- Requirements for GCS
- Requirements for Snowflake
- Requirements for ADLS2
- Requirements for BigQuery
- Requirements for OneLake
Adding a Connection
In Connections, you can configure access to the cloud storage locations that store source datasets or that will store published data.
To add a connection:
- Navigate to Admin Center > Connections.
- Select Create Connection.
- Select the connection type.
- Enter Connection Identification and Provider Details.
- Test the connection and then select Add.
Editing a Connection
Note: Editing a connection may impact access to source data that has been added through that connection. Deleting a connection will impact access to source data that has been added through that connection.
Depending on your user role and permissions, you can edit the connection settings.
To edit a connection:
- Navigate to Admin Center > Connections.
- Select the Edit icon for the connection you want to edit.
- Update the fields as needed, test the connection, and then select Save.
Note: Directory and file names are case-sensitive.
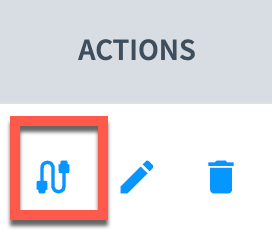
Testing a Connection
You can test that an existing connection is functional on the Connections page. Select the Check Connection Status icon for the connection.
Deleting a Connection
To delete a connection:
- Navigate to to Admin Center > Connections.
- Select the Delete icon for the connection you want to edit.
- Select Delete.
Updated 7 months ago