
Adding and Managing Projects
Depending on your tenant and project role, you can add new projects, grant project roles to users, and manage projects from the Projects page.
Adding a Project
Only tenant admins can add projects.
To add a project:
-
Navigate to Admin Center > Projects.
-
Select New Project.
-
Enter a Project Display Name. An internal project name is automatically created for you based on the display name (all lowercase with spaces replaced by underscores). You can select Edit to change the project name.
-
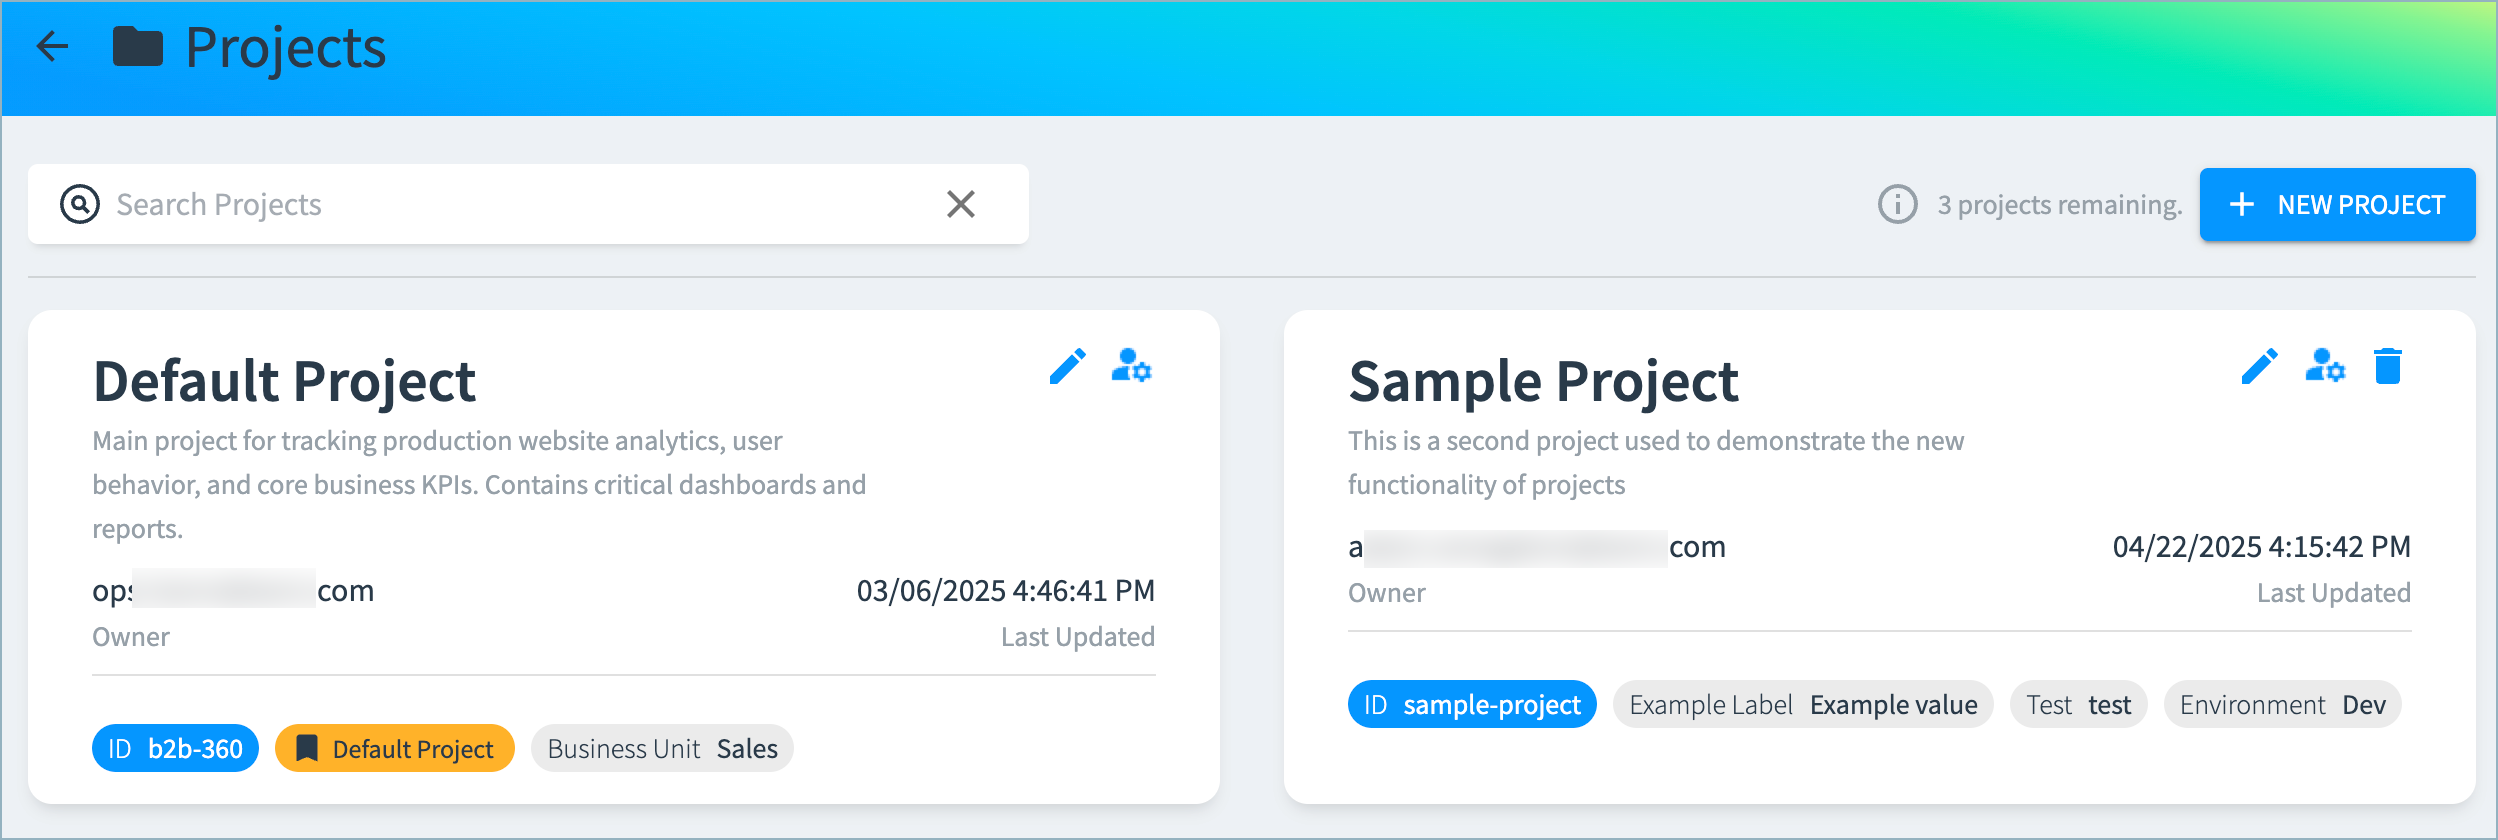
Optionally, enter a Description and Labels for the project to provide details on the project tile for other project admins. Enter labels as key/value pairs. For example, in the image below, the key/value pair is
Business Unit/Sales.
-
Select Create Project.
Editing Project Settings
Project admins and editors can edit the display name, description, and labels for a project. You cannot edit the internal project name.
To edit a project:
- Open the Projects page by either navigating to Admin Center > Projects or selecting Manage Projects from the Project menu.
- Select the Edit
 icon for the project.
 - Edit the display name, description, and labels as needed, and then save your changes.
Deleting a Project
Important : Deleting a project also removes access to all resources associated with the project, including data products, sources, workflows, and destinations.
Only tenant admins can delete projects. You cannot delete the default project.
To delete a project:
- Navigate to Admin Center > Projects.
- Select the Delete
 icon for the project.
 - Confirm the deletion.
Updated 7 months ago